
Remove small objects from simple photo backgrounds
Brush over small distractions on simple backgrounds to repair them.
Example image · ready to edit
PNG, JPEG or WebP. Up to 25 MB and 4000 × 4000 px. Large images are reduced to a 2000 px long edge. Your image stays in this browser.
Your preview
Mark an area, then repair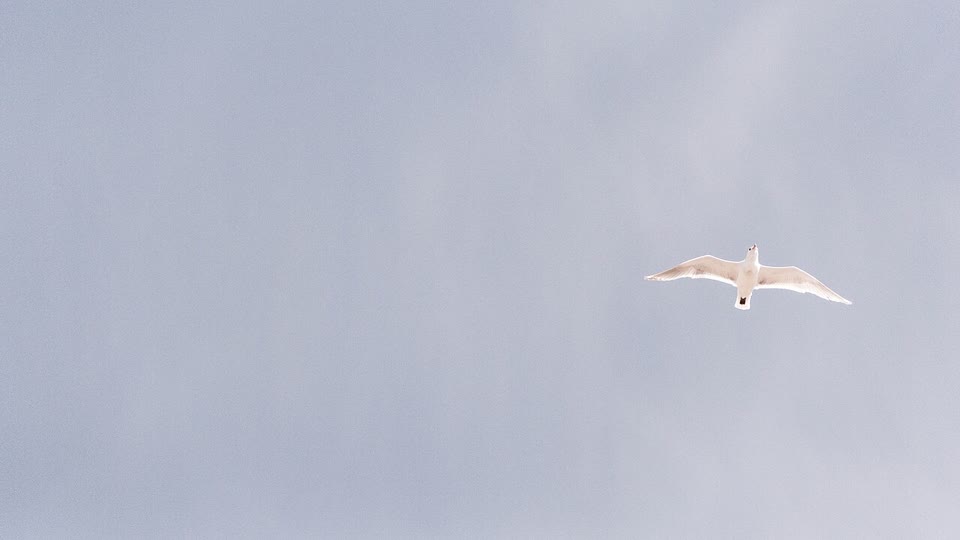
Repair & compare
Edits start from the original image. Download uses your current settings.
Keep the repair small and inspect the texture
Mark a small unwanted object or blemish and repair the area using nearby image texture. Try another repair and compare before downloading.
Mark just the unwanted area, then choose Repair image. Try another repair changes the sampling seed. This works best on simple surroundings; faces, text, crossing lines and large objects can leave visible artifacts. It does not understand or generate the missing scene.
How to use Remove Small Objects
- 01
Try the marked example or open your own photo.
- 02
Paint over the small object and leave surrounding background unmarked.
- 03
Repair, inspect the edges, and try another repair if needed.
Remove small distractions and blemishes from a photo
Brush over a small unwanted object on a simple background, then repair the marked area using surrounding texture. Leave nearby clean pixels unmarked so the tool has useful material to sample. Compare the result and try another repair if the texture or edges do not match.
PhotoCraft-based object removal in your browser
This local repair tool adapts algorithms from the open-source PhotoCraft project. It fills small marked areas from nearby image content; it does not generate missing people, objects or scenery with AI. Content Aware Scale provides selected tools rather than the full editor. Explore the PhotoCraft-based tool collection.
Guide updated · Maintained by flreey.
Decide whether local repair fits the problem
A small speck on a wall and a person standing in front of a fence are very different repair tasks. The speck may have enough similar texture nearby to fill its footprint. The person hides long edges, perspective and background objects that the tool cannot know. Start with the smallest distraction on the simplest background, and judge the result before marking a larger region.
Good candidates include a tiny spot on a plain surface, a small distraction in an evenly textured background, or a blemish away from an important edge. Difficult candidates include lettering, fingers, hair outlines, building corners and objects covering several different materials. The tool synthesizes a repair from nearby texture. It does not use a generative model to invent missing scenery or reconstruct the intended geometry.
Draw a useful repair mask
Cover the unwanted object's visible footprint, including its colored edge if that edge would otherwise remain. Keep the surrounding clean background unmarked so it can contribute to the repair. A mask that misses part of the object can leave a dark rim or recognizable fragment. A mask that covers a much larger area than necessary asks the algorithm to replace useful context as well as the distraction.
Watch where the mask meets a change of material. A wall beside a window, a shoreline or a striped shirt provides several incompatible textures in a small area. Even a narrow repair across that boundary may pull material from the wrong side. Redraw the selection to preserve the edge when possible. If the object itself crosses a structural line, consider cropping or a more controlled retouching editor.
Use the saved examples as a reference
The original and saved result above show a concrete local repair, rather than a claim that every object can be removed. Open the editable example, inspect the marked region and run the repair. Compare the repaired patch with the surrounding surface: look for changes in grain, repeated marks and transitions in brightness. A patch that looks acceptable at thumbnail size can still be visible in a full-size download.
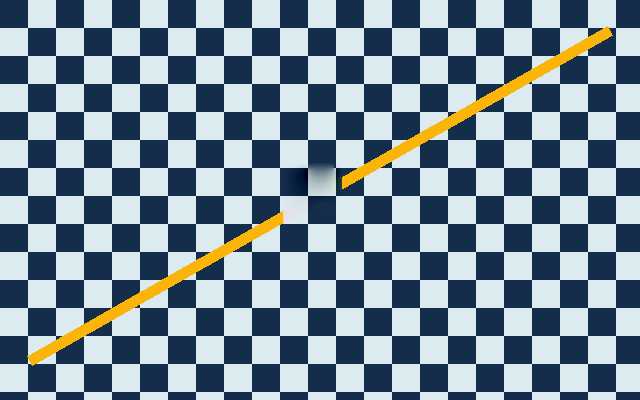
The crossing-lines counterexample shows a failure that matters: the filled area can interrupt a line or connect the wrong segments. Use that image to recognize structural damage in your own result. A smooth-looking patch is not sufficient if it bends a fence, changes a letter or breaks a roof edge. In those cases, keep the original and choose another method instead of treating the generated patch as a successful correction.
What Try another repair actually does
Try another repair changes the texture sampling seed and runs again. It can produce a better local match when there are several plausible nearby patches, but it does not add knowledge of the scene. Each repair starts from the original working image rather than accumulating the previous repair. Repeated clicks are therefore alternatives to compare, not a series of increasingly complete reconstruction passes.
If several attempts show the same problem, change the mask or change the method. Repeating the operation on a large missing object will not reveal the background behind it. Compare the boundary first, then the center of the patch. Save a result only when both fit the surrounding image at the size where the image will actually be used.
Repair, crop, cover or blur?
For a distraction near the edge of a photo, a modest crop may preserve the rest of the scene more faithfully than repair. For sensitive information in a screenshot, use an opaque cover in Blur Image and inspect the exported pixels. Texture repair is not a dependable redaction method: fragments of text may remain, and a visually plausible patch does not prove that all sensitive content is gone.
For a large background change, choose an editor with suitable reconstruction or manual cloning controls. For instructional images, annotations may be more useful than removing a feature: an arrow or label can explain what the viewer should notice while keeping the source understandable. Avoid changing factual evidence in a way that could mislead its audience.
Inspect the exported file
The result is a PNG at the working dimensions displayed by the tool. Unmarked pixels in that working image are preserved; if a large source was resized for processing, this does not mean the exported file is pixel-identical to the original camera file outside the mask. Keep the original separately, and check the displayed dimensions before deciding whether the result meets your needs.
Open the download and inspect the repaired region at full size and at its intended display size. Check hard edges, repeated texture, changes in brightness and leftover pieces of the unwanted object. If you need a second editing step, keep a PNG intermediate and convert only when you know the final delivery format. The photo editing workflow explains how to keep the original, order edits and verify a final export.
When this tool works best
Designed for small blemishes and simple or repeating backgrounds. It copies and synthesizes nearby texture; it does not generate new scene content. Large people, text crossing edges and complex structures may leave visible artifacts.
Your downloaded file
A PNG at the displayed processing size. Unmarked pixels are preserved. Each repair starts from the original; a retry explicitly changes the texture sampling seed.
Your image stays on your device
Processing runs in this browser. No image upload, account or remote AI service is required. Original images are kept separate from edits; failed processing keeps the original available. Downloads use your current settings; previews update automatically where supported. Open-source notices