
Sharpen an image, reduce noise or dehaze
Sharpen edges, reduce noise or dehaze a photo.
Example image · ready to edit
PNG, JPEG or WebP. Up to 25 MB and 4000 × 4000 px. Large images are reduced to a 2000 px long edge. Your image stays in this browser.
Your preview
Live preview · updating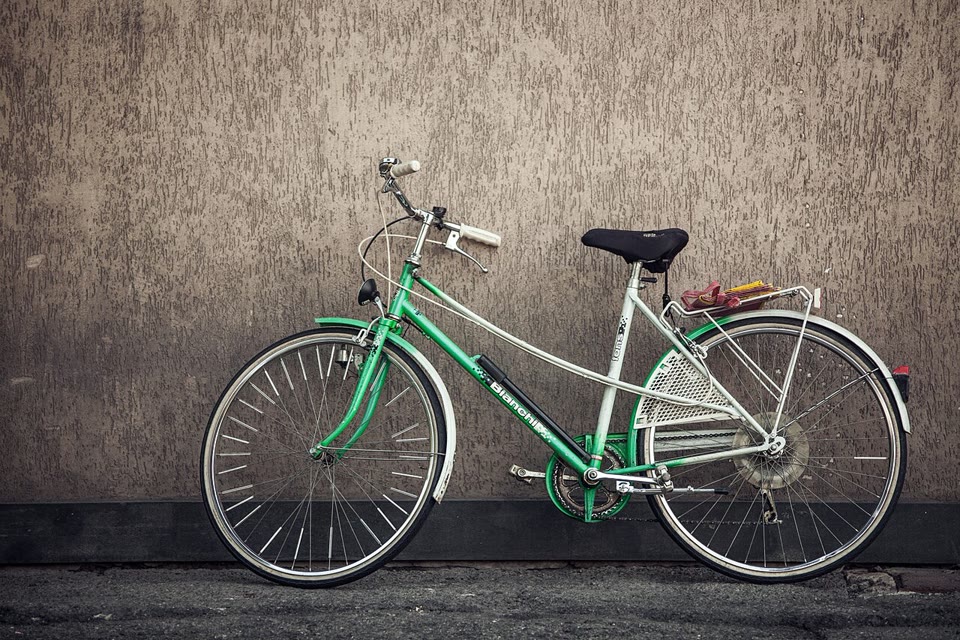
Adjust · preview updates automatically
Edits start from the original image. A fast preview updates as you adjust; full-size detail follows when you pause. Download uses your current settings.
Choose the filter for the problem
Sharpen image edges, reduce visible noise or dehaze a photo with local image filters. Inspect full-resolution detail and download the result.
Sharpen increases edge contrast, Reduce noise smooths local variation, and Dehaze changes contrast in hazy-looking scenes. Each starts from the original. Too much sharpening creates halos; too much smoothing removes texture. These filters cannot reconstruct missing detail.
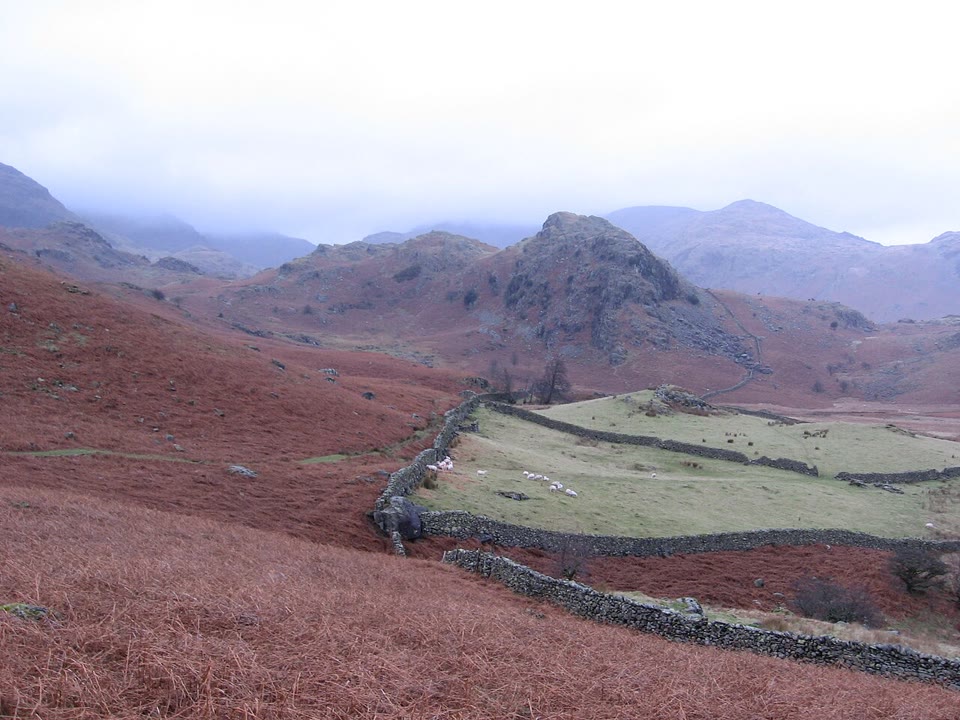
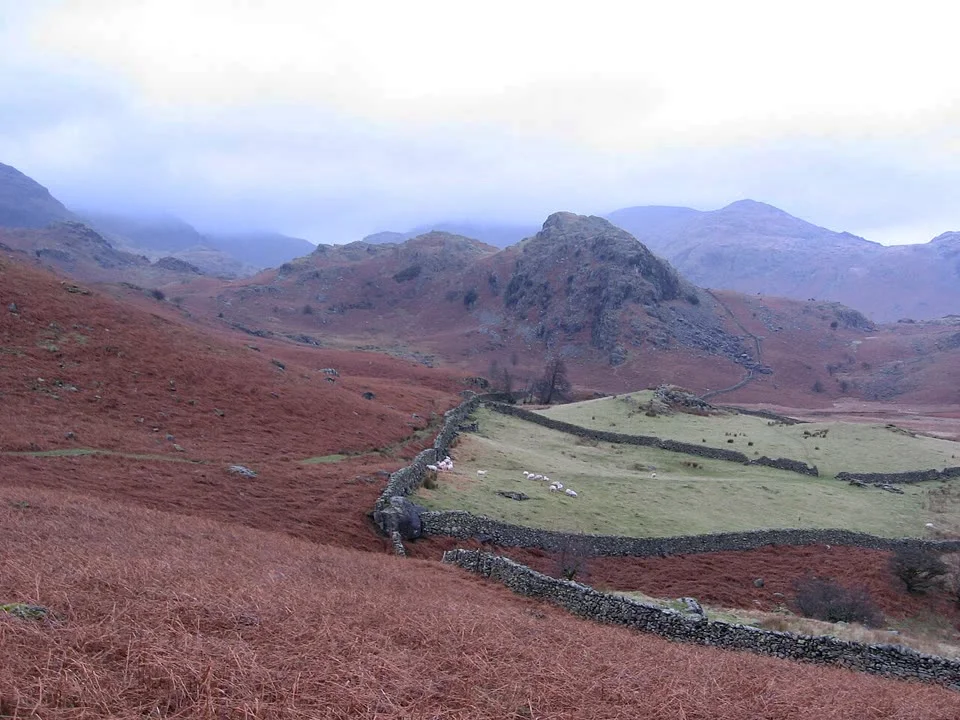
Sharpen edges or reduce image noise?
Use Sharpen when a slightly soft edge needs more contrast. Use Reduce noise for grain in otherwise usable detail. Dehaze is for flat contrast in a hazy scene. Switch modes to compare them; the filters do not stack.
Sharpen: inspect the actual result
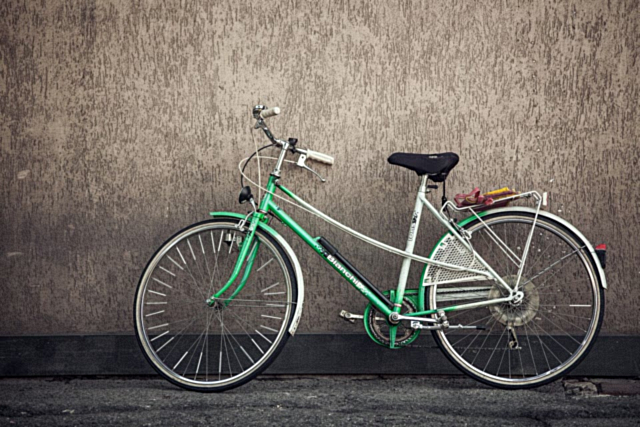
Download input · Download result · Inspect the maximum-strength comparison
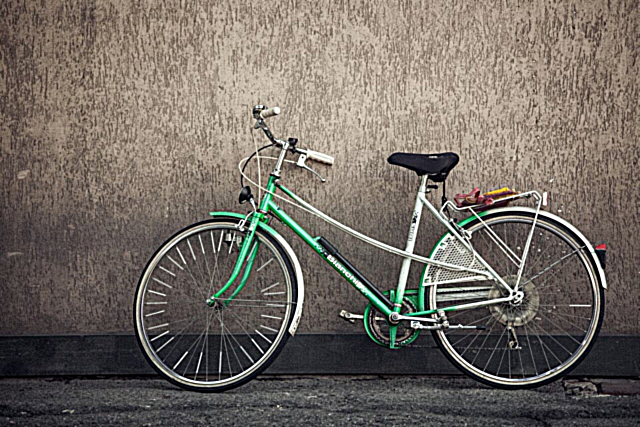
Reduce noise: inspect the actual result
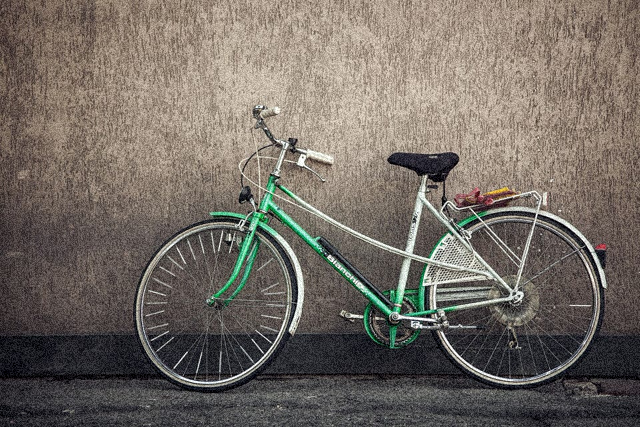
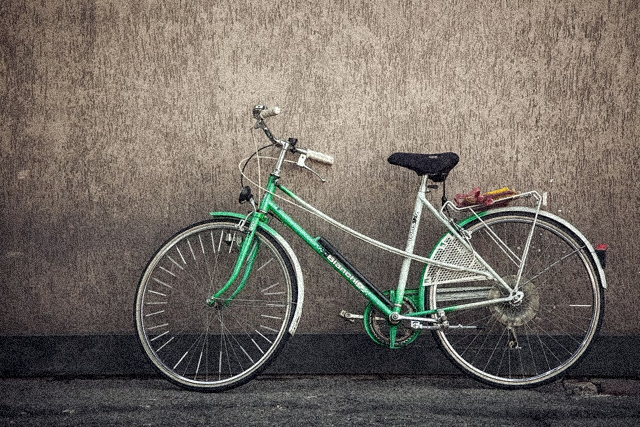
Download input · Download result · Inspect the maximum-strength comparison
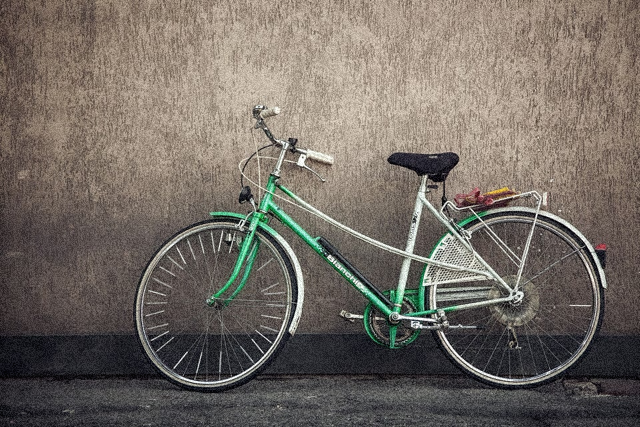
Higher strength is not always better. Look for bright edge outlines after sharpening and lost fine texture after smoothing. The examples use deliberately simulated blur or noise; they are not evidence of recovering a severely blurred photograph.
How to use Sharpen Image
- 01
Choose an image and a mode: Sharpen, Reduce noise or Dehaze.
- 02
Adjust strength and watch the preview. Pause to inspect full-size pixel detail.
- 03
Compare edges and texture, then download the completed PNG.
When this tool works best
These are traditional image filters. Sharpening cannot recreate missing details, reverse major motion blur or provide AI super-resolution; for that, use the AI Image Upscaler. Strong settings can create halos or soften texture.
Your downloaded file
A PNG at the displayed working resolution. Each mode starts from the original image; modes are not silently stacked.
Your image stays on your device
Processing runs in this browser. No image upload, account or remote AI service is required. Original images are kept separate from edits; failed processing keeps the original available. Downloads use your current settings; previews update automatically where supported. Open-source notices